One of the great new features I am starting to enjoy on my BlackBerry Storm is the ability for it to play multimedia files and specifically audio (music).
First let's take a look at the video and audio formats supported by BlackBerry Storm:
Video format support: MPEG4 H.263, MPEG4 Part 2 Simple Profile, H.264, WMV
Audio format support: MP3, AAC, AAC+, eAAC+, WMA, WMA ProPlus
Basically, when you buy music from iTunes, it comes with a copyright protection called DRM. These DRM-protected songs are locked so that they only work with Apple MP3 players. That means that if you have a BlackBerry Storm, you cannot use iTunes music.
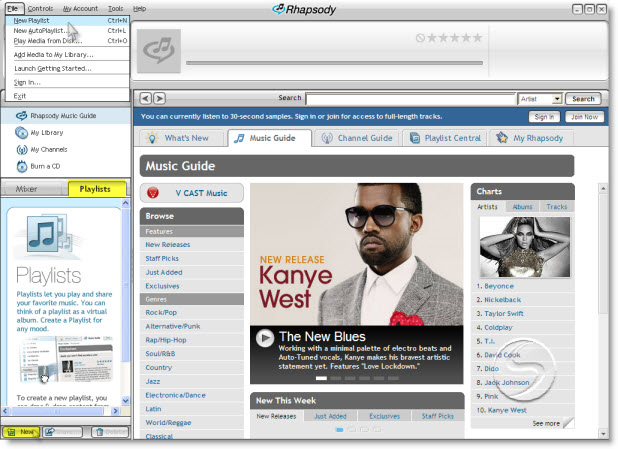
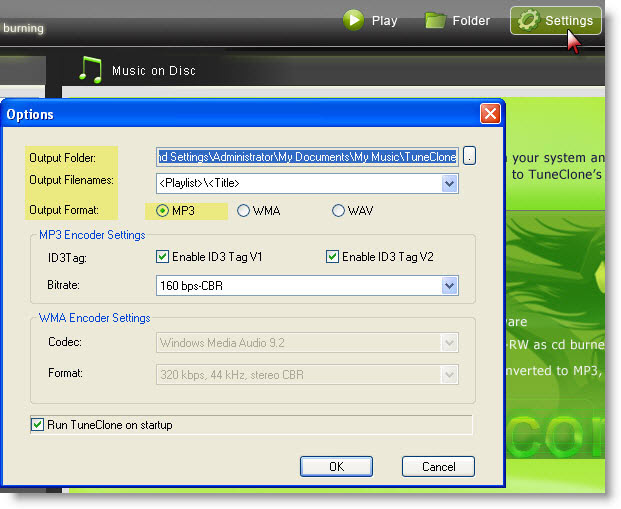
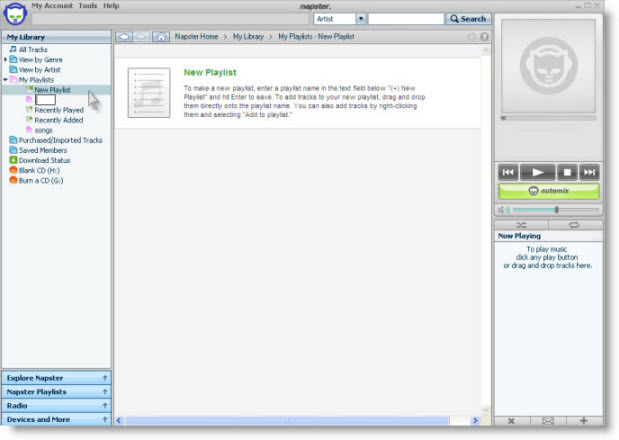
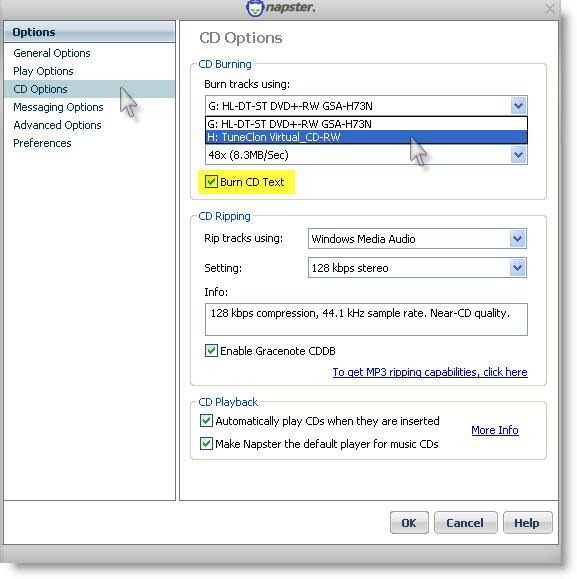
So, what is the solution? You have to burn a CD. When you do this, the DRM is removed (because the music is converted to a non-DRM-compatible media). After you burn the CD, you can rip it to your PC as an MP3 file which no longer has DRM.
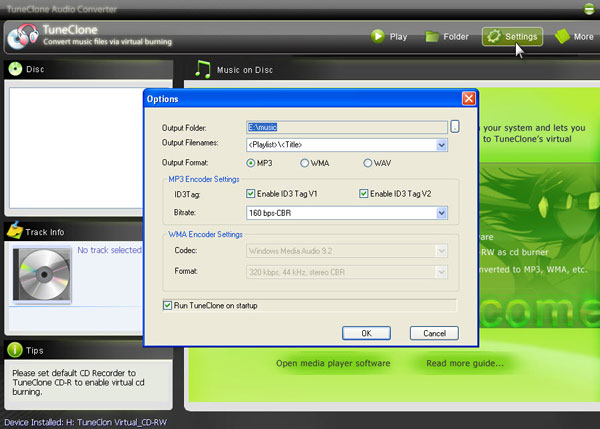
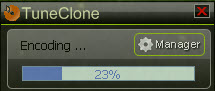
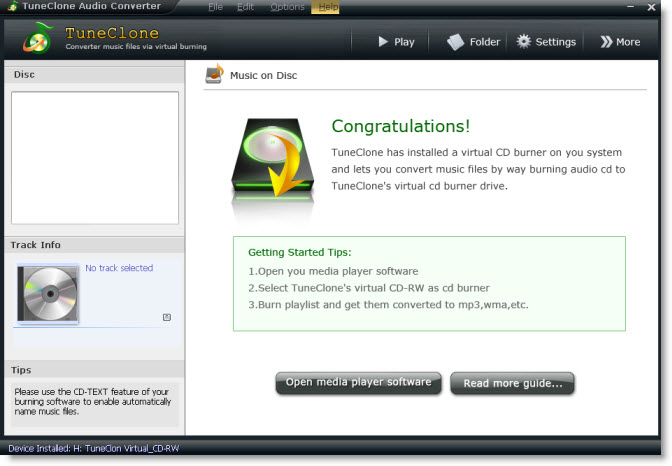
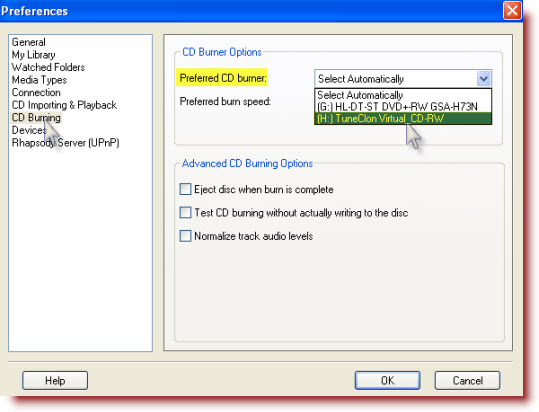
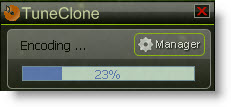
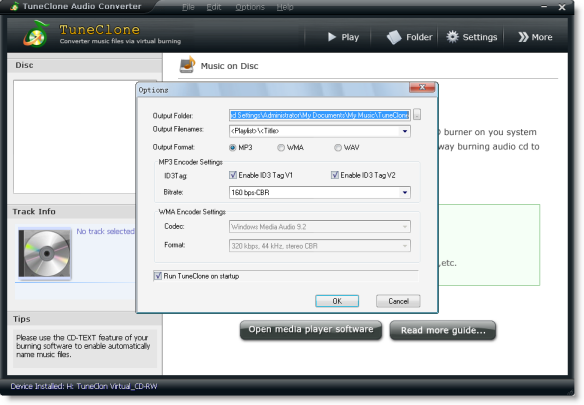
Alternatively, you can use TuneClone. TuneClone makes a virtual CD-ROM drive, tricking your PC into believing that you are burning a CD. Therefore, the DRM is removed without wasting a CD.
Here is a link to a tutorial using TuneClone and iTunes 8:
http://www.tuneclone.com/itunes8-m4p-to-mp3.php
After you get the output MP3 files, you can now begin to transfer them to your BlackBerry Storm:
1. Connect your BlackBerry to you computer via the USB cable.
2. If you have properly enabled your Blackberry as a Mass Storage Device, your Blackberry's microSD card will show as a removable drive on your computer.
3. Double click on the Blackberry folder.
4. Double click on the music folder.
5. Copy your music files to your BlackBerry.
6. Disconnect your Blackberry from the USB cable and go to the "Multimedia" icon on you Blackberry. You need to disconnect when you use the Mass Storage device method as it disables direct access from the BlackBerry when connected to the PC via the USB cable.
7. Click on the Music icon.
8. Click on the Media Card folder.
9. Select your Music folder.
10. Select your Song.
11. Play and enjoy.
Done.